27 October 2026 · Bearsource
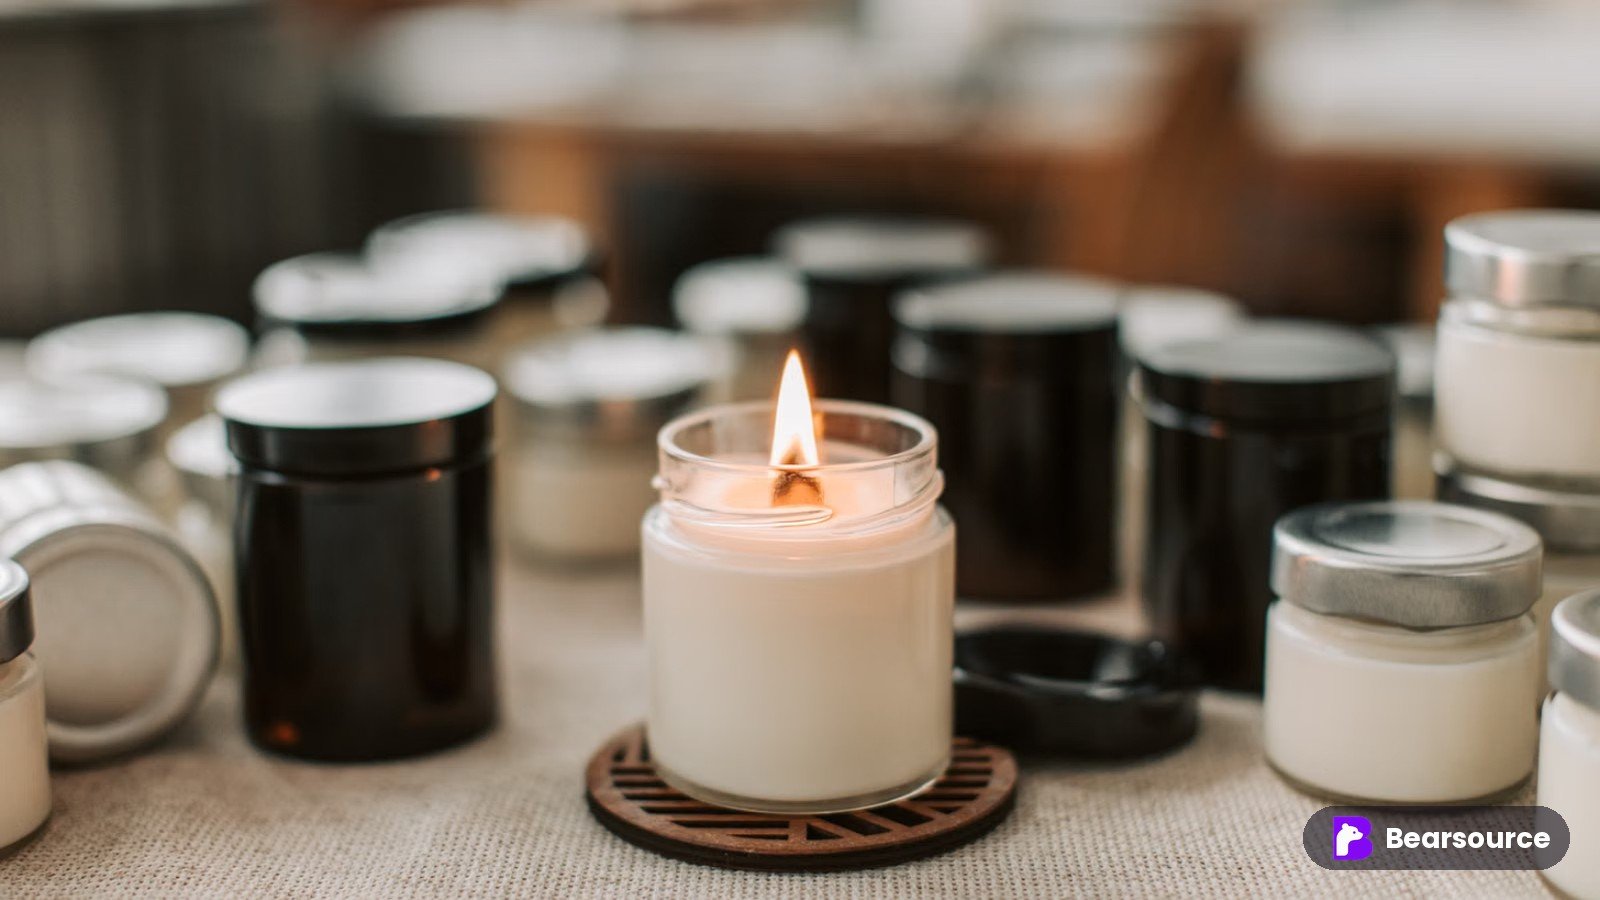
Candles look like one of the easiest products to launch. Wax, a wick, a jar, a nice label. Done.
Then the first customer review comes in: "Smells amazing, but it tunnelled after two burns." Or worse: "The jar cracked."
A candle is a small fire in a glass. Getting it right is mostly about testing, not design. Here's how custom candle manufacturing actually works, and what to check before you order.
The wax decides how the candle burns, how well it holds scent, and how it looks.
| Wax | Good points | Watch out for |
|---|---|---|
| Soy | Natural story, soft creamy look | Can "frost" (white marks), softer in heat |
| Paraffin | Strong scent throw, smooth finish, low cost | Some customers avoid it |
| Coconut blends | Smooth, clean look, good scent | Higher cost |
| Beeswax | Natural, long burn | Expensive, its own smell, harder to scent |
| Blends (e.g. soy-paraffin) | Balance of cost, look and scent | Be honest in your marketing about what's inside |
Tip: decide what you'll say on the label first ("100% soy", "natural wax blend") and then pick the wax. Your claims must match the real recipe.
The wick is where most candle problems start.
The right wick depends on jar diameter, wax type, fragrance and dye. Change any one of those and the wick may need to change too. Cotton wicks are most common. Wooden wicks give a crackle and a different look, but need their own testing.
The fragrance load is how much scent oil goes into the wax, usually shown as a percentage. Many candles sit somewhere around 6 to 10%, but every wax has its own limit.
More isn't always better. Too much oil can:
Ask the supplier for the fragrance supplier's safety data sheet (SDS) and IFRA certificate. You'll need them for your labels (see Step 6).
Never approve a candle from a photo. Burn it. Several times.
A simple test burn:
What you want to see: a full melt pool, a steady flame, little soot, and no tunnelling.
Test samples from the real production wax, wick and fragrance, not a lab version. Then test a few pieces from mass production again.
Not every pretty glass can handle heat.
Candles need safety warnings. What exactly depends on where you sell.
Rules change and differ by country. Check the current requirements for your market with a testing lab or compliance expert before you print labels.
Candles and heat don't mix. A container sitting in the sun can get very hot inside.
Stock jars with your own label and scent often start at a few hundred units per scent. Custom jars, custom colours and custom packaging push the minimum up. Plan a few weeks for sampling and test burns, then production and shipping. Give yourself extra time before the holiday season. Candles sell most in Q4, so factories get busy early.
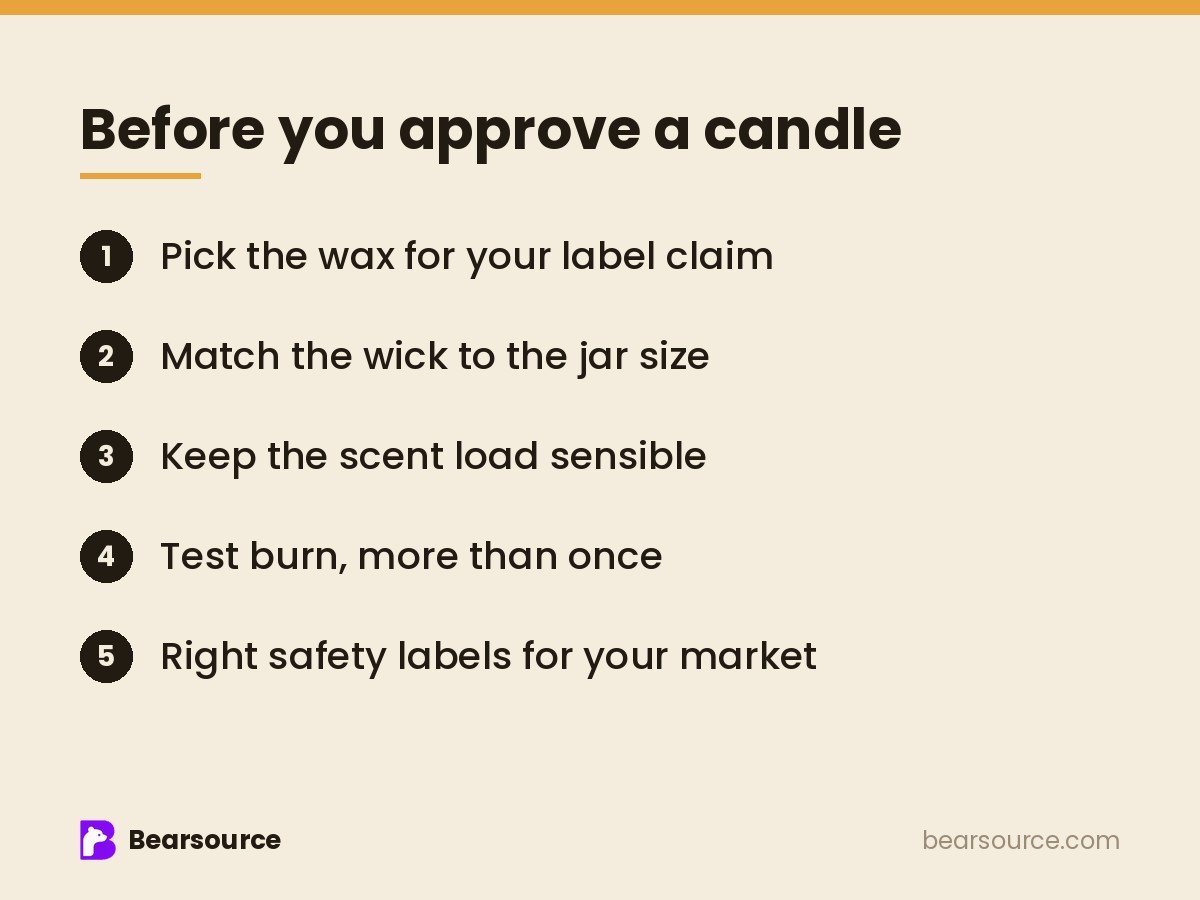
A great candle is a tested candle. Choose your wax, match the wick, keep the scent load sensible, burn it more than once, and get the labels right for your market. That's what turns "smells amazing" into "bought it again."
We manage your product from idea to delivery. For candles, that means finding the right factory, managing samples and test burns, checking jars and labels, and inspecting the goods before they ship. You bring the idea. We build the product.
